When you click on a page, scroll past this week's featured photo to view.

WELCOME!

This site is dedicated to sharing what we have learned with you! Enjoy our tutorials, and if you have a question please feel free to ask! I know one of our sugar enthusiasts will either know or try to find the answer.
We all have something to share...and we all have something to learn!


___________________________________________________________


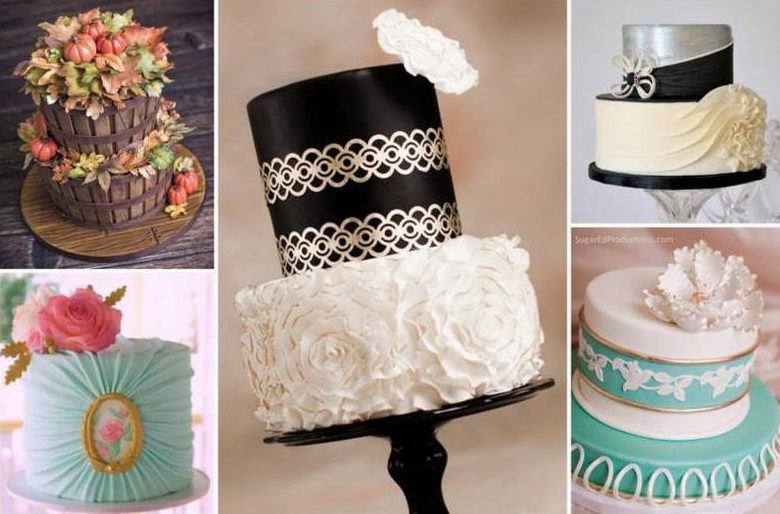
Nothing says Irish like Beautiful Lace

Nothing says Irish like Beautiful Lace
Click on photo for Earlene Moore's tutorial for beautiful fondant lace and have fun with your next cake!


.............................................................................................................................

/////////////////////////////////////////////////////////////////
.............................................................................................................................


Monday, February 22, 2010

Ooooh Baby! Easy sugarpaste booties by Jen Dontz


This week's tutorial is on the adorable and VERY EASY baby bootie.  It's lifesize, so much fun to make and will really impress your customers!

bootie1sz.jpg
Step 1 - Roll out your paste about 1/4" thick.  You can use fondant or gumpaste.  I'm using gumpaste on these.  The set comes with three cutters.  Taking the sole cutter, cut one of the thick pieces for each shoe you want to make. 

 You can let these dry, but really don't have to.  I started working right away on them.  Since the paste is so thick you will not be able to totally cut through it with the cutter so just make an impression on top, then use the scissors to cut it out.

  By cutting the paste thick, I feel it's easier to put this together.  I'm sure there are many ways to make these, but this is my way.  :-)


bootie2.JPG
 
Step 2 - I use my tiny little scissors and cut off about 1/4" from each end of the sole.  If you don't do this step, the final result looks more like a moccasin than a bootie.

bootie3.JPG
Disgard the end scraps.

bootie4.JPG
Step 3 - Cut out one of each of the other two pieces for each shoe you want to make.  You can use any thickness of paste, I cut mine on #4 on the Kitchen Aid pasta machine.  The next part we will apply is the part that looks like a little helmet.
bootie5.JPG
Step 4 - Take the sole and moisten the edge with gumglue or water and wrap the "helmet" part around the sole, making sure the paste edge goes right to the bottom of the sole edge.

bootie6.JPG
Step 5 - Take the longer piece and moisten the edge shown by the brush, just this straight edge.
bootie7.JPG
Step 6 - Wrap this back part of the shoe around the back part of the sole.
bootie8.JPG
Step 7 - Using a clay gun, make some tiny strings for the ties of the bootie.
bootie9.JPG
Step 8 - You can make whatever little tie like finish you want.  You can make a bow or just leave the untied strings.  You also can use your imagination to decorate these in numerous ways.  I used the little daisy punch and the snowflake cutters to embelish the ones below.  You might have to stuff some plastic wrap or a cotton ball in the shoe until it's competely dry.  I guarantee your customers will LOVE these, especially when they find out they are made of sugar :-)  If you have any questions at all, please contact me, cakebabe1@aol.com  All of these cake toys are available through Sugar Delites, I'll make a list of just what I used and post it below.  Aren't these just to cute for words?  I LOVE using them on my baby cakes.

bootie10.JPG

Equipment used to make the booties:
Click on item to order:
(I used a tip #7 to cut out the center of the daisy)
Tiny scissors -

Tutorial courtesy of Jennifer Dontz
2010
All Rights Reserved

This material may not be republished or reproduced in any manner without the expressed permission of the author.

Monday, February 15, 2010

"C is for cookie...."

As I was on my semester break from school, I can honestly say the food item I thought of the most and made most often was a chocolate chip cookie. I didn't always make the same recipe, because I have a tendency to tinker, and try out multiple recipes to see if I can get the flavor and texture that I want. A chocolate chip cookie, to me, is the ultimate comfort food. Chocolate chip cookies are relatively easy to make, and they are quick, unless you want to chill the dough before baking, which is one of my favorite techniques.

I have seen numerous threads on the various forums I belong to, searching for the quintessential chocolate chip cookie. The purpose of this article isn't to tell you the recipe I think is best, but to give tips and pointers on how and why cookies turn out the way they do..


these cookies are the result of The Best, Big Fat, Chewy Chocolate Chip Cookie

COOKIE CHARACTERISTICS

Cookies usually have five basic characteristics. The desired outcome dictates the recipe components.

the characteristics are: Crispness, Softness, Chewiness and Spread

Crisp cookies are low in moisture. Softness is the opposite of crispness. Sometimes we confuse chewiness with softness, HOWEVER, all chewy cookies are soft, but not all soft cookies are chewy. Spread is basically how much the cookie holds it shape.


snickerdoodles (one of my faves)

GENERAL GUIDELINES FOR COOKIE CHARACTERISTICS
Crispness
***Most crisp cookies come from a stiff dough. There is a low proportion of liquid compared to other ingredients
***Crisp cookies have a high sugar and fat content
***longer baking time, evaporates more moisture in the recipe
***small size, cookies dries out faster during baking
***proper storage, if cookies are stored where they can absorb moisture they can become soft

Softness
***Hi proportion of liquid compared to other ingredients
***low sugar and fat
***include honey,molasses or corn syrup. these ingredients absorb moisture so they support a softer cookie
***underbaking the cookie will allow it to remain soft. Less moisture is lost
***larger size (also thicker) cookies retain more moisture
***soft cookies should be stored tightly covered or they can dry out

Chewiness
***High sugar/liquid, but low fat
***High proportion of eggs
***strong flour or gluten developed during mixing

Spread
***high sugar increases spread. regular granulated sugar (as compared to confectioners or superfine sugar) increases spread, like little ball bearings
***high leavening content (baking soda and/or powder) encourages spread
***the amount of "creaming" the sugar and fat increases spread. If you cream the butter and sugar until light and fluffy your cookies will spread more that if you take the same recipe and creamed those ingredients less
***low oven temp increases spread. Higher temps cause the cookie to "set up" faster before it has a chance to spread
***a thinner batter (high liquid content) spreads more than a stiffer batter
***strong flour or gluten developed decreases spread (using the same recipe with cake or pastry flour instead of all purpose will cause the cookies to spread more)
***heavily greased pans causes cookies to spread more

These tips are not all inclusive to every recipe ever developed, but they can certainly help you determine what a recipe should turn out like. On the recipe linked to above (Big, Fat, Chewy) I can point out 3 things that contribute to its chewiness.
1. one added yolk
2. more brown sugar than white sugar
3. the butter is melted, which caused the butter and sugar to just be mixed and not creamed

In addition, the baking recommendation is for 325 degrees and a 1/4 cup scoop..

Now, I just had the sudden urge to bake chocolate chip cookies! Stay tuned for troubleshooting tips!


Samele Thorner 2010 All rights reserved
This material may not be republished or reproduced in any manner without the expressed permission of the author.

Monday, February 1, 2010

Cake Balls....or....Truffles?


Here's a great way to use up your leftover cake scraps!  This is the first time I have made these.  My daughter always makes them when we have parties and her hubby is always asking her to make them so he can take them to work! 


Make a cake of your choosing or use cake scraps.  You may use any cake mix flavor also.  Crumble the cake into a bowl.


Next add anywhere from 1/2 cup to 2 cups prepared icing, depending on how moist or dry the cake is.

 
Line a baking tray with wax paper or foil.  Use a melon baller as a scoop to form the mixture into balls.  When all of the mixture is used, place the baking trays into the freezer and freeze for several hours.  I like to do mine over night.

 
Using Almond Bark (white or chocolate) or a confectioners coating of you choice, melt in microwave as per instructions on package.  Using a candy fork, regular fork, tooth pick or spoon, dip cake ball into the hot melted chocolate, tapping off extra.

 
Freezing the balls will help keep crumbs to a minimum.  If the chocolate starts to cook off, microwave for to rewarm it.

 
Place on wax or parchment paper to cool.

 
Decorate as desired!!

 
I liked using this handy little bottle to cover the tops.

 
To make them look a little more elegant, you can use candy papers or the very small cupcake papers.  I really like how they look in them!!

 
These cake balls were covered in sprinkles and nuts.  Do this as soon as you take the balls out of the melted chocolate.

 
I used a candy mold to do these.  Just coat the bottom and sides of the mold and let set up in the freezer for a minute.  Then put the cake mixture in the middle and top with more chocolate.  These were really easy!!

~*~*~*~

Below are some of the cake balls that my daughter, Kami has created.  Click on the link to go to her cute food blog!


Here are some combination's that you can use:

*Red Velvet Cake/Cream Cheese Frosting and dipped in white chocolate coating

*Strawberry Supreme Cake/Strawberries and Cream Frosting - Dipped in Chocolate Coating

*White Cake/Mint Chocolate Chip Frosting - Dipped in Chocolate Coating

*Caramel Cake/Chocolate Mocha Frosting - Dipped in Chocolate Coating

*White Cake/Wild Cherry Vanilla Frosting - Dipped in Dark Chocolate Coating

*French Vanilla Cake/White Chocolate Almond Frosting - Dipped in Chocolate Coating

*Dark Chocolate Cake/Cream Cheese Frosting - Dipped in White Chocolate Coating

*Spice Cake/Cream Cheese Frosting - Dipped in White Chocolate Coating

*Lemon Cake/Lemon Frosting - Dipped in White Chocolate Coating

*Confetti Cake/Vanilla Frosting - Dipped in White Chocolate Coating
 
You can also add nuts, lemon, lime or orange peel, mini chocolate chips, broken or crushed candies or bars, and any LorAnn Gourmet flavorings to come up with some really great flavors!!  Be creative!  Have fun making them!  You may also want to do a search on Cake Balls!  WOW!!

Tutorial courtesy of Rhonda Christensen
All Rights Reserved
2010

  This material may not be republished or reproduced in any manner without the expressed permission of the author.

Search This Blog

The Tutorials This Week Were Generously Shared by

RHONDA CHRISTENSEN, EARLENE MOORE, BOBBIE NOTO, EDNA DE LA CRUZ & TONI BRANCATISANO

And to ALL of our Readers...

Above all, have fun and keep baking!

Think CHOCOLATE!

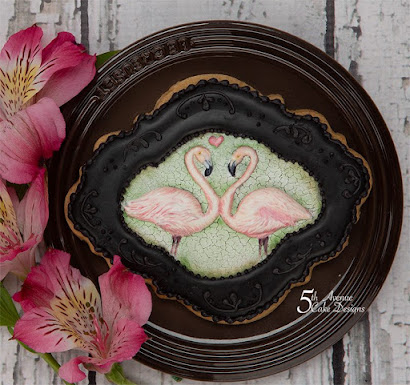
A Very Sweet Tutorial by Bobbie Noto

A Very Sweet Tutorial by Bobbie Noto
I was instantly in love when Bobbie Noto shared this cookie with SugarTeachers! She is an amazing talent. For instructions on how to create this adorable cookie, click on the photo and don't forget to subscribe to Bobbie's website!

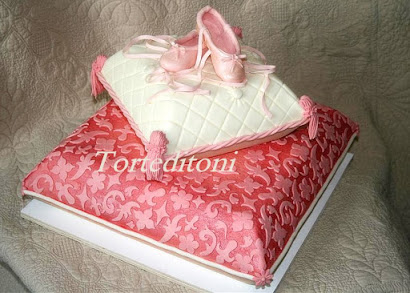
Pillow Cake Tutorial by Toni Brancatisano

Pillow Cake Tutorial by Toni Brancatisano
How beautiful! A great tutorial shared byToni Brancatisano. Click on photo to see the tutorial!

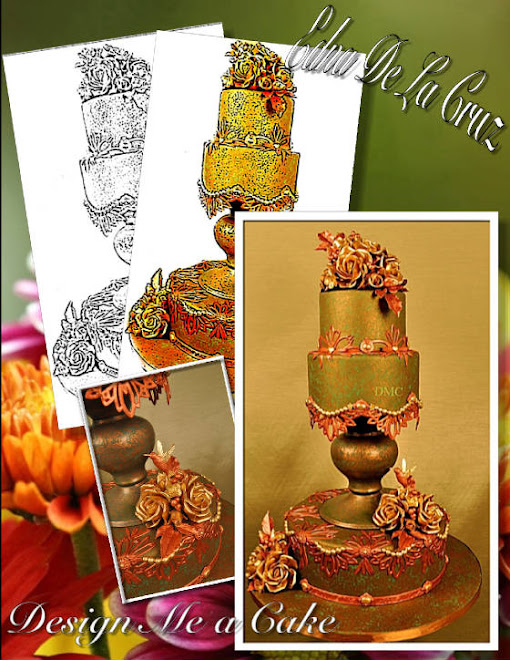
Pistachio-Cardamom Cake

Pistachio-Cardamom Cake
Click on link for Edna De La Cruz's dee-lish cake recipe.

Related Posts with Thumbnails