Summer is Here and Time for Fun in the Sun!
This is a tutorial to create your own little beach on top of your next Summer themed cake.
You will need:
1/2 lb gumpaste
Fondant Roller and Board
Cornstarch
Woodgrain Textured Roller (opt)
Sharp knife or exacto Knife
Bamboo Skewer
Brightly colored Straw
Gum Glue*
Styrofoam
1" square cube of styrofoam.
Wilton 2A piping tube
#12 piping tube
#8 piping tube
*********************************************
Beach Chair
Roll out firm white gumpaste about 1/8" thickness on a board dusted with cornstarch.
Using a window cutter or pattern above, cut two pieces 1 inch wide and 2 inches in length.
Measuring 1/4" from the squared edge of one, make a slight indention on one of the cut pieces.
Set aside on flat styrofoam to firm up. This will be the seat.
Roll out firm gumpaste approximately 1/4" thickness on dusted board.
If desired, texture with woodgrain textured roller.
Cut two squares. Then, using a sharp knife, cut two 1/4"x3/4" rectangles
inside squares to create chair slats ( as shown )
Use the bamboo skewer to make a very slight indention on the non-textured side of the square.
Use pattern as a guideline.
This slight indention will serve as a guide during assembly.
Set aside on flat styrofoam to firm up. This will be the sides
Cut a 3/8"x1" rectangle, and a 1/4"x 1" rectangle. This will be the facings
You can do this easily by using the squared end of your window
cutter for a perfect measurement, as shown .
When the pieces are firm enough to hold its shape but not completely dry,
start assembling the chair.
Start with one square side of chair, textured side down.
Brush gumglue in indented side of seat, and place seat together.
Brush the sides of the seats with gumglue.
Place side down, using the guides on the sides.
Place the styrofoam block to stablize the chair, and place
the next side on top, textured side up.
Brush the top and sides of the facings. Place the 1/4" facing on the back side and the 3/8" facing on the front side at the base of the seat.
Check to be sure your chair is straight.
Allow to dry completely.
When dry, use the 1/4" strip disc in your clay gun.
Using blue gumpaste, make a strip
to cover the complete length of the chair. Place two strips in place and secure with gum glue.
Roll out a very thin piece of blue gumpaste and cut a design using a plunger cutter.
Secure in place, using gum glue, on the center front chair facing.
**************************
Umbrella
Roll out white or yellow gumpaste about 1/16" thickness.
Make a circle, using your 3-1/2" circle cutter.
Using the pattern, make a slight indention with your bamboo skewer to use as a guideline.
Using the PME wheel cutter, cut a very slight curve from line to line, as shown.
Turn a half sphere flower former upside down, and cover with plastic wrap ( or secure a syrofoam
ball so it cannot move)
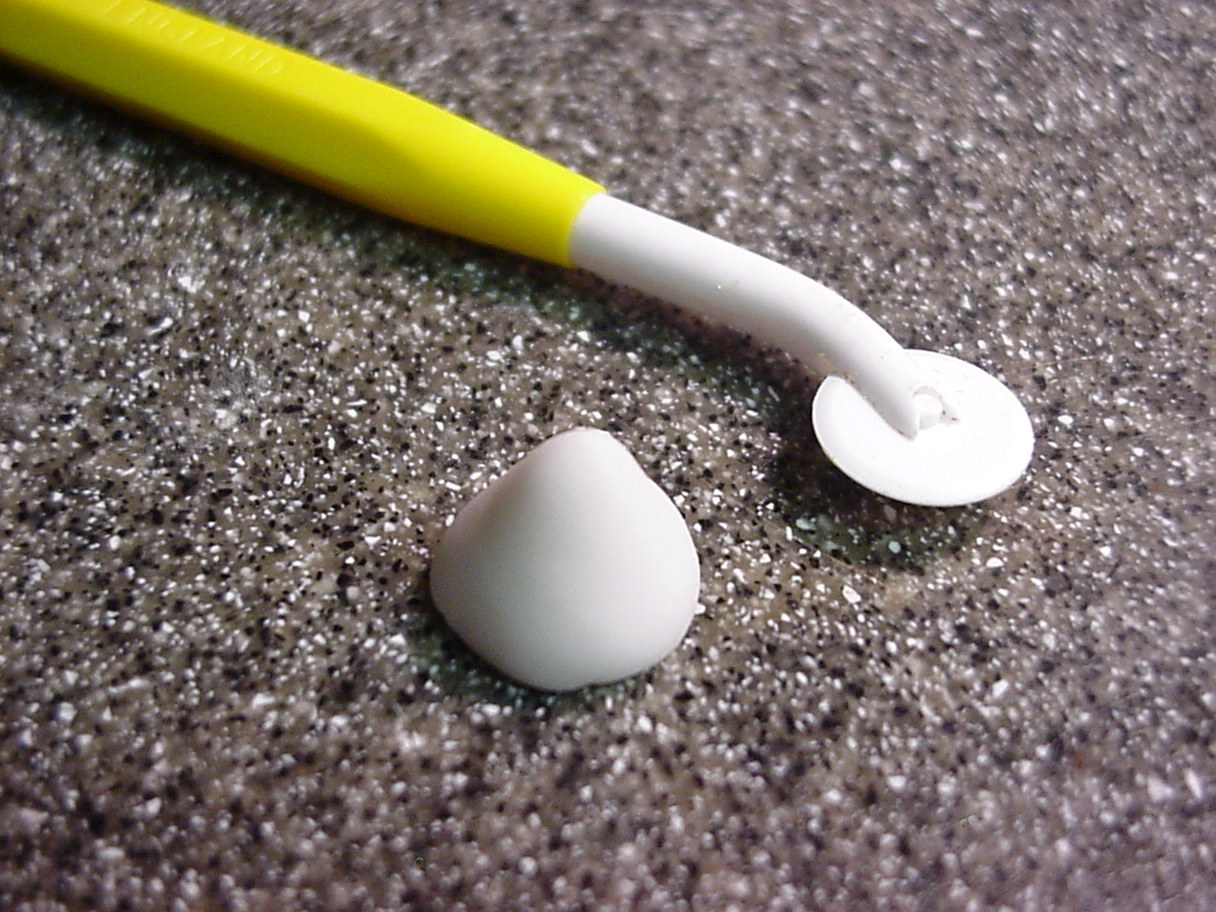
With a 1/2" ball of white or yellow gumpaste, make a small cone.
Place the cone on top of the sphere and moisten the topside of cone with gum glue.
Place the center of umbrella over the tip of the cone.
Allow to dry completely.
When dry, you can either paint the sections of the umbrella, using Americolor gels;
or cut a pattern in parchment paper using one section of the umbrella pattern.
Place the pattern over colored gumpaste and cut two of each alternating color.
Brush the sections with gum glue and apply the colored fondant.
Using the sugarcraft gun and the smallest cord disc,
cover the seams of the umbrella, securing with gum glue.
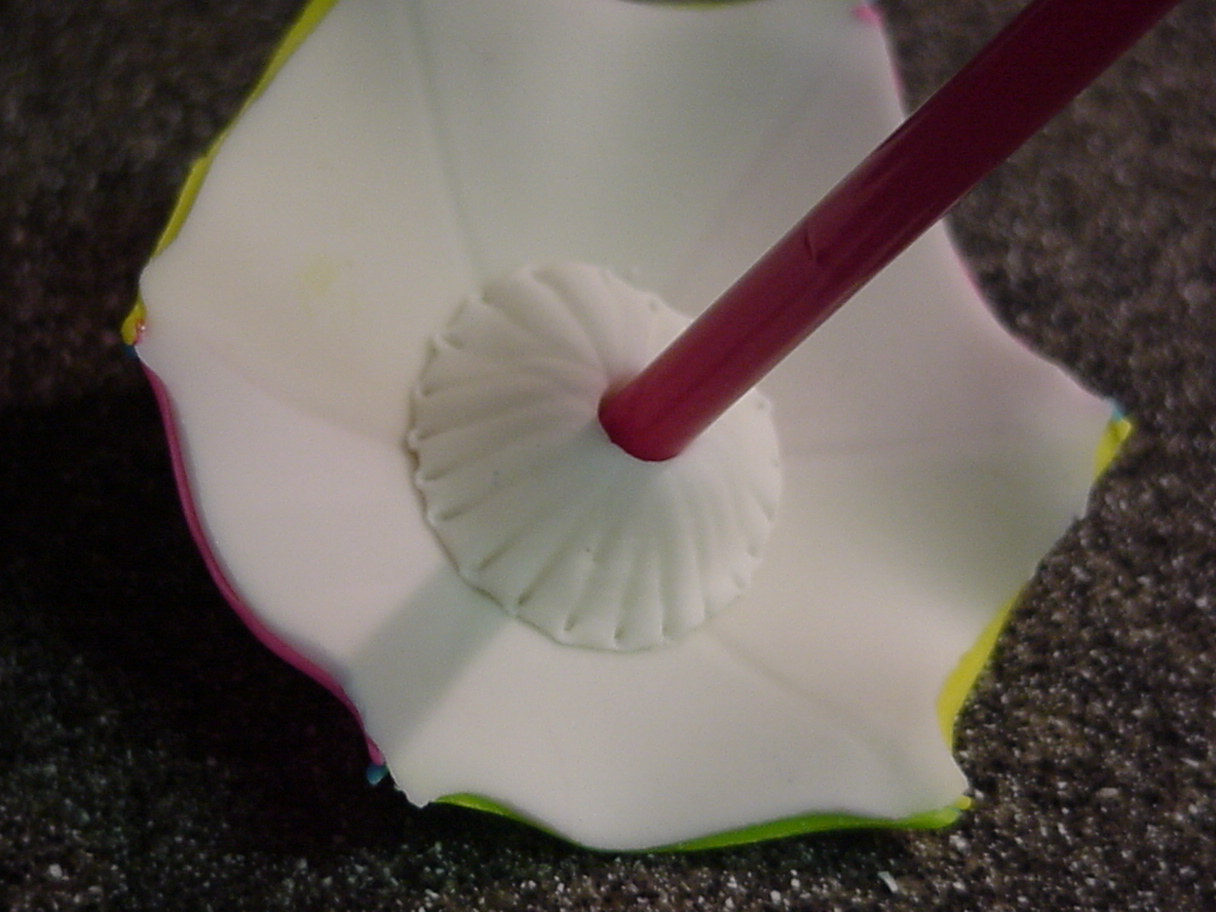
Make a 3/4" ball of white or yellow gumpaste. Shape into a cone.
Score the cone with a tootpick, then turn over and moisten the flat side of cone with gum glue.
Secure inside the center of the of umbrella and place a straw at an angle into the center of the cone.
Set aside to dry completely.
When dry, add little colored balls at the ends of the umbrella and a larger ball on the center top, securing each one with gum glue.
********************************
Beach Ball
Knead gumpaste and flatten out on well dusted board to 3/4" thickness.
Using the 3/4" round cutter, cut out a circle.
Roll the circle on the board until a perfect sphere is formed.
Lay into a cornstarch bath to dry.
When completely dry, cut two each of section using alternating colored gumpaste.
Place carefully over the white ball until covered, securing each color piece with gum glue.
Roll out small ball of gumpaste very thin. Using the tip of #12 piping tube, cut two small
circles and secure on each end of ball, securing with gum glue.
Roll out a bright color and cut two more circles with the #8 piping tip,
placing in the center of the white circle.
Set aside to dry completely
************************************************
Sand Pail
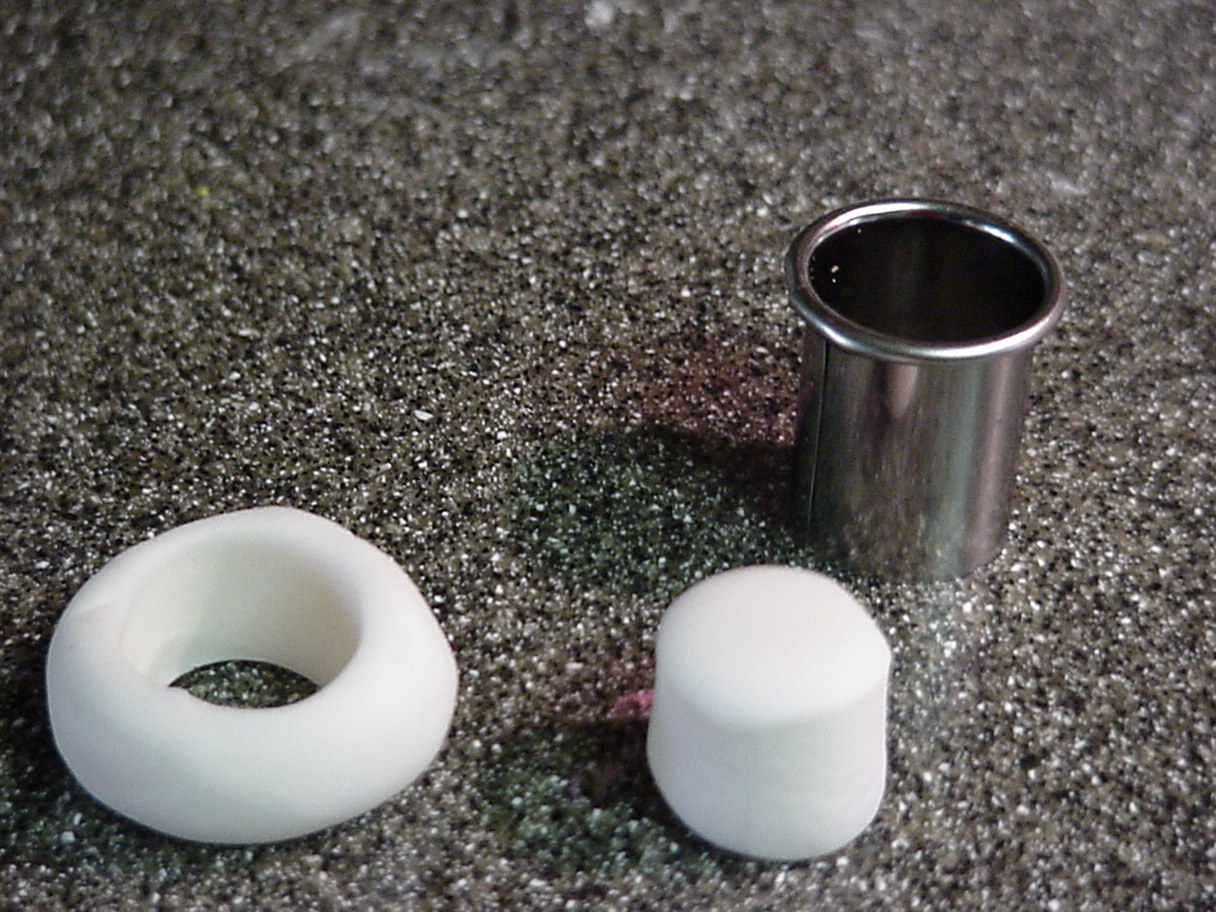
Roll out colored gumpaste about 1/16" thickness.
Cut 1/2" wide and approx 1" long.
Wrap around the end of the #2A piping tube**.
Moisten one edge with gumglue, and secure in place.
Allow to firm up, then remove and set aside to dry.
Roll out same colored gumpaste thinly, and cut a circle using the 10mm cutter.
Moisten the bottom edge of the pail, securing the circle to create pail bottom.
Decorate pail by using contrasting colored gumpaste, cut with assorted plunger cutters.

With a contrasting gumpaste color,
make a small cord using the sugarcraft gun and attach to the top of
pail to create the pail handle.
Set aside to dry.
When all pieces are dry, you will be able to place directly on top of your cake.
(*Make gum glue by mixing 1/4 teaspoon Tylose powder with 1 Tablespoon hot water)
(**dust the tube liberally with cornstarch to prevent sticking)
Tutorial and Photography by Jacque Benson
Copyright 2010- All rights reserved.
This material may not be reproduced without permission from the author.


